
Lords of The Fallen Beacon are ancient artifacts that, when located and cleansed, restore protective barriers and grant potent abilities.
In the dark and treacherous realm of Lords of the Fallen, the quest for power and salvation hinges upon the discovery and cleansing of ancient artifacts known as Beacons. These artifacts, akin to mystical relics, hold the key to restoring protective barriers and unleashing potent abilities. Embark on a journey to locate and cleanse each Lords of The Fallen Beacon, ensuring your triumph in the unforgiving landscapes of this gripping game.
Lords Of The Fallen Beacon Locations
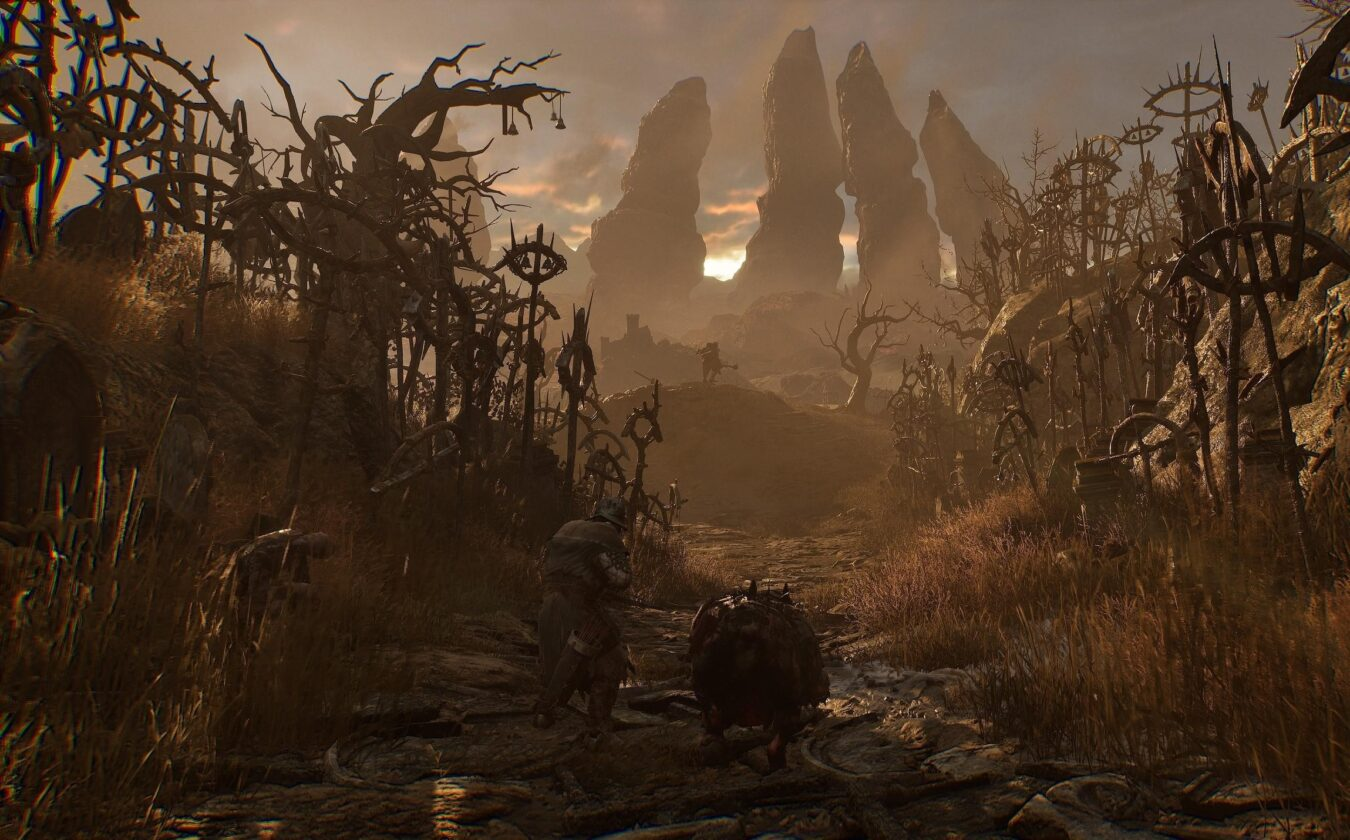
1. Forsaken Fen
Getting the first Lords of The Fallen Beacon isn’t just a stroll; it’s a planned journey that requires skill and bravery. You start your journey by going towards either the Vestige of Valade or the scary Forsaken Fen. Each has its own secrets and dangers. You will be able to move through the ethereal world called Umbral by weaving through the shadows and avoiding dangerous enemies that hide in the dark. People are tense, and you can feel the excitement as you go deeper into this spectral area.
When you face The Congregator of Flesh, a grotesque and dangerous enemy that represents the challenges that lie ahead, you will face your real test. Dark power has changed this beast into something it isn’t, and it needs both raw strength and a deep understanding of how to deal with its unpredictable and deadly attacks. You will need to be careful and smart about your moves if you want to beat this tough enemy in a fierce fight.
The journey doesn’t end there, though. You have won the fight with The Congregator of Flesh and are now walking through a swampy area. The air is thick with a strange tension. This is where you meet another challenge: the Hushed Saint, who lives in the twisted landscape. This mysterious and difficult enemy requires a different strategy, and it will test your speed and accuracy in battle.
The first Beacon is revealed when all of your hard work pays off and you master the dangerous fights, beating each enemy with skill and drive. It is close to Fitzroy’s Gorge and gives off an ancient energy. Its appearance is a sign of your determination to keep going even when things look tough. If you feel it is too difficult, then you can change your difficulty and try again.
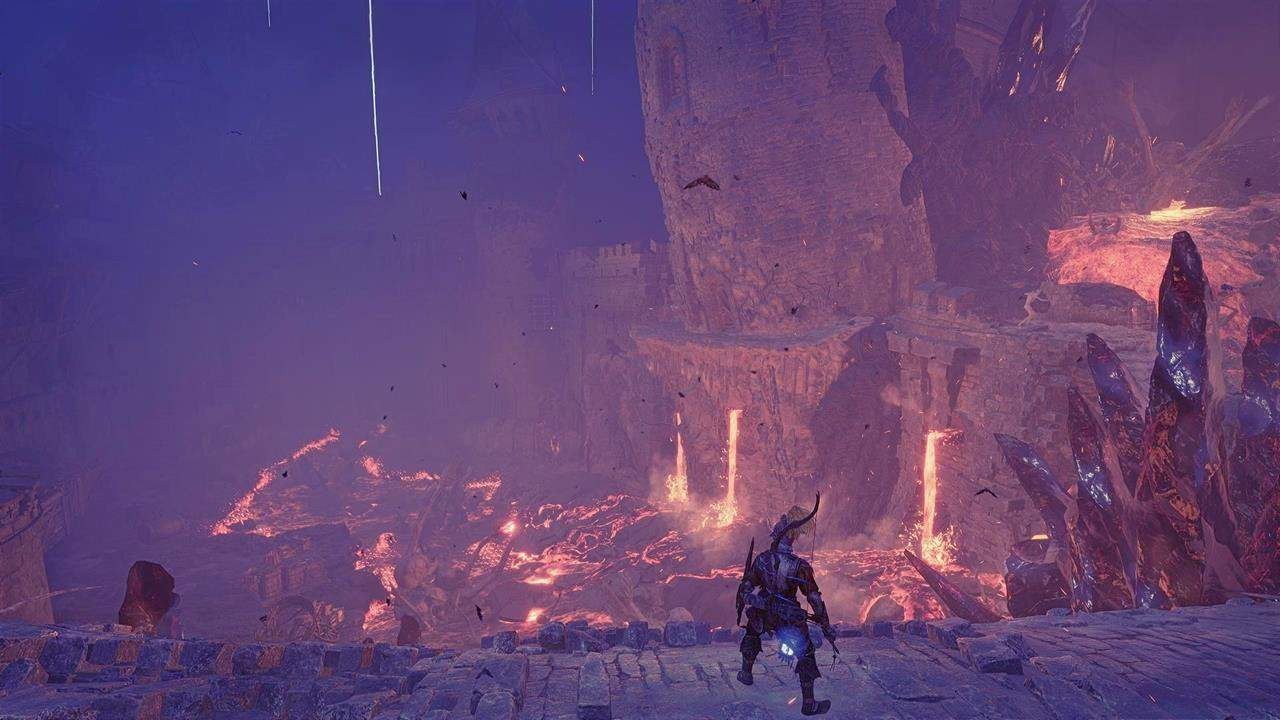
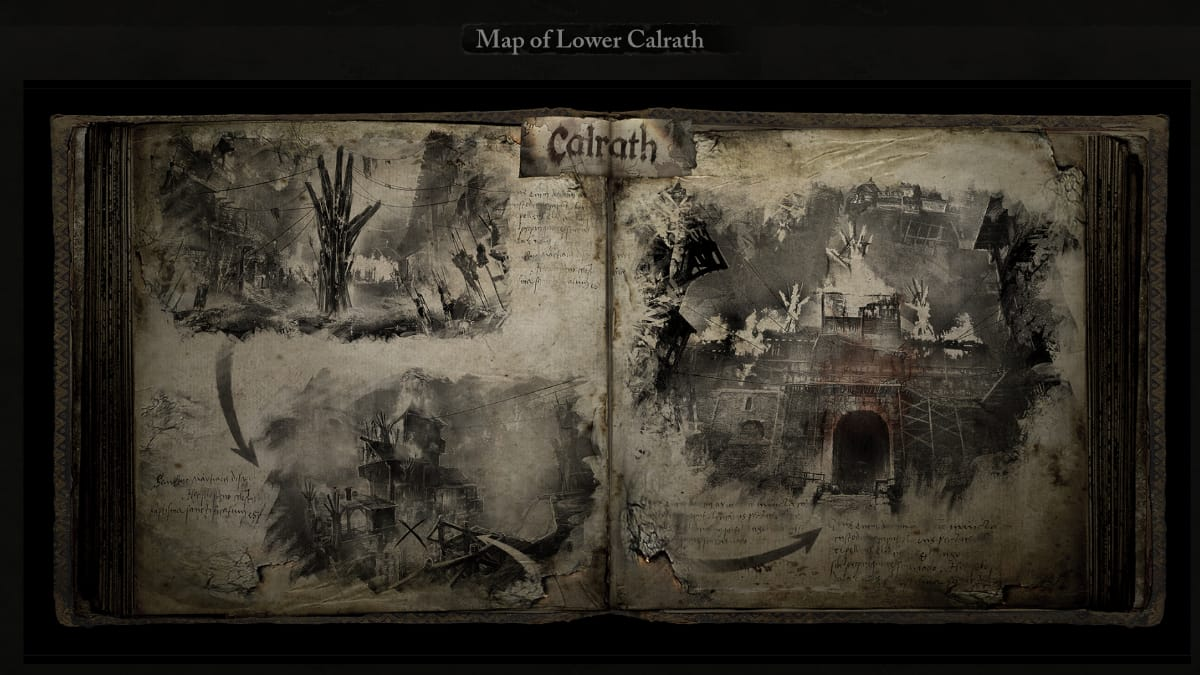
2. Upper Calrath
The second Lords of The Fallen Beacon can be found in Upper Calrath and can be reached by traveling across Skyrest Bridge. Avoid the attacks of the enemies and make your way to the chamber lit by the campfire, where the challenging Lightreaper Boss is waiting for you. You must vanquish this enemy, descend to the lower levels, and make your way through the room in order to find the strong Beacon. This Beacon’s ability to influence one’s state of mind brings a fresh perspective to the arsenal you already possess.
3. Fief of the Chill Curse
You can find the third Lords of The Fallen beacon close to the Vestige of Marco or the Redcopse Windmill. Get the Fief Key from the NPC Andreas of Ebb to open the door to the frozen bell. You will have to fight tough enemies in Fief of the Chill Curse, such as Kinrangr Guardian Folard and the Hollow Crow. You have to avoid attacks, time powerful hits, and climb to the top levels to find the Beacon, which is deeply linked to nature.
4. Tower of Penance
The Pilgrim’s Perch Key is needed to get to the fourth beacon, which is in the Tower of Penance. Go through the Vestige of Blind Agatha, face Tancred, the Master of Premonitions, and make your way to the top of the Tower. Once you get out of the lift, you can find the Beacon and use its skills. Tancred is an enemy you can’t avoid, and you have to beat him to move forward in your quest.
5. The Empyrean
The fifth Lords of The Fallen beacon will lead you to a place close to the Abbey of the Hallowed Sisters. Cross the Manse of the Hallowed Brothers to get to the Abbey. Then, face the Rapturous Hunter of the Dusk and go to the Empyrean area. Fight Judge Cleric, the Radiant Sentinel, and show the last Beacon when you’re done. If you can clean all five Beacons in Lords of the Fallen, you’ll reach the Radiant Ending. Upgrade your gear to take down enemies.
Cleansing the Beacons
Once the Beacons have been found spread out in dangerous areas, the next important step is to clean them. With the Umbral Lamp in hand, walk up to each Beacon, clean it, and start it. Not only does this attack restore their defenses, but it also gives your build scores big boosts. The Umbral Lamp is useful because it makes you stronger in a fight and lets you into secret areas with special weapons and shields. Optimize your performance and see how fights become visually amazing.
The Radiant Ending and Secret Classes
The Radiant Ending is the goal of your quest, and you can get it by cleaning all five Beacons. At the same time that the realm is saved, two special classes are unlocked: the Lightreaper Class and the Umbral Remnant Class. Taking these classes gives you more skills, which gives you an edge in later games and makes the experience better overall.
If you skip the process of cleansing, bad things will happen. In the dark, the environment gets worse, enemies get stronger, and new tasks get tougher. To get around these rising dangers, you need to clean up the Lords of The Fallen Beacon in Upper Calrath at the very least. Not doing so limits your ability to use other classes and raises the level of difficulty, turning the game into a never-ending test of your skills.
Finally, the Lords of the Fallen Beacon Locations Guide is an important map for players who want to beat the game’s difficult environments. Every step in this guide brings you one step closer to win, from facing tough bosses to unlocking secret classes. Take in the power of the Beacons, clean them perfectly, and bring about the Radiant Ending, which shows that you are the most powerful in Lords of the Fallen.
FAQs
Can I choose the order in which I locate the Beacons?
What happens if I don’t cleanse the Beacons?
For more coverage, check out other Game topics.
More E-Sports news:
- How To Use Azurewrath In Diablo 4?
- How To Obtain The Trickshot Aspect In Diablo 4?
- Diablo 4 Uldur’s Cave Guide
Follow our dedicated E-Sports page for instant