This Zelda Divine Beast Vah Naboris guide will give you all the important tips and tricks to progress in the game.
After defeating each Divine Beast, the player will obtain a new Champion Power. Arguably, Urbosa’s Fury, which can be used against enemies, is the most powerful. Players must release Ganon’s hold on the Divine Beast Vah Naboris in order to get Urbosa’s Fury. In general, this is a puzzle dungeon in which the boss is extremely difficult. To complete this dungeon, you should have at least 9 hearts, twice upgraded armor, a lot of food, bows & arrows, and a lot of weapons.
Getting the Rubber Armor is also recommended. Stamina is barely relevant here since it is only needed for sprinting. This is the most difficult challenge in Divine Beasts. This Zelda Divine Beast Naboris guide will tell you how to clear this dungeon and beat the boss. Therefore, do not miss anything and read everything carefully if you want to progress.
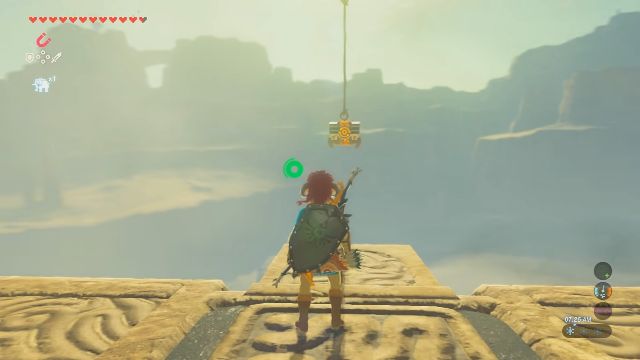
Zelda Divine Beast Vah Naboris
In the room, you’ll see a Guardian Scout. After killing it, make your way to the other side and climb the stairs. On the way, you’ll find sludge called Malice, which has a glowing eye on it.
The Malice will disappear if you kill the eye. A ledge can be found on the opposite side of the stairs and to the right. Climb up the ledge, then place your Sheikah Slate on the pedestal to acquire the dungeon map. The dungeon map shows that there are three different segments of the main room. You can turn each segment in any combination you want, but you won’t need to do this often. Below, we will tell you about all the terminals.
Terminals in Divine Beast Vah Naboris
First Terminal
The first terminal is found in the main room. The terminal is located in the cylinder toward the back of Naboris. It appears as though the cage has all its sides closed, but the bottom is actually open. Moving the cylinder will make it possible to reach the bottom.
It is possible to see several circular windows that lead into the dungeon’s exterior, all except the one near the first terminal get closed. The cube should be facing the open window after moving the rear cylinder. The same window must then be accessed from the outside. You can exit through the window on the same side of the room if you move the center cylinder. Then run into the cube, orient the back cylinder upwards so that the terminal faces upwards, and place your Sheikah Slate inside.
Second Terminal
The circuit line going through the cylinders can be seen on the dungeon map. Activate the circuit lines at the top of the map so they turn green when they are activated. Rotate all 3 cylinders so that their circuit lines point upwards. There are two holes within this spinning platform, one of which has a platform attached to it, the other without. The active circuit will also rotate the large wall at the front of the dungeon.
When you arrive at the top of the room, take the hole that doesn’t have a platform and step into it. After you do that, drop down and land on the platform. You can then pass through the wheel’s centre hole as a result. Avoid the malice and lasers as you go down the corridor. You can get a Knight’s Shield by opening a treasure chest at the room’s conclusion.
Return to the main area after killing the glowing eye. Step into any of the two holes on the substantial moving wall this time, and let it carry you to the top. Jump through the gap you spot to reach the front of Vah Naboris.
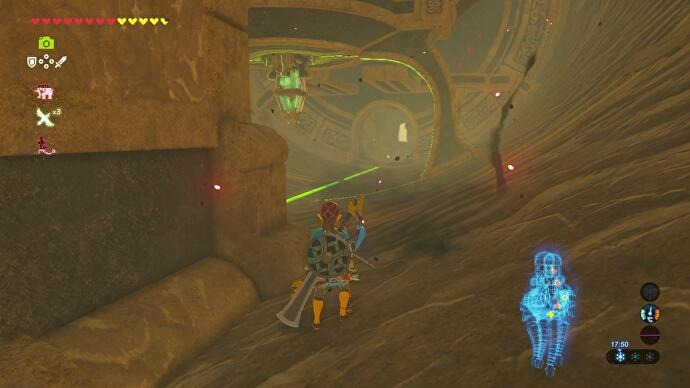
On the floor, there is a handle that you can turn. There are also some circuit wires that resemble the ones in the main chamber, suggesting that electricity can move through this area. A gear adjacent to the cross handle will likewise move when you crank the handle clockwise. On one side of the gear is a bulb. Turn the handle clockwise until the bulb is level with the green light and facing upward. The light will become blue as a result, indicating that electricity is present.
Turn the handle now in the other direction. On the other side of the platform, there is a second gear with a bulb. Do the same procedure until this bulb is blue as well. Naboris’ neck will adjust as a result, and an elevator will then show up. Take the elevator all the way to the top, then turn on the second terminal.
Third Terminal
The rotating wall has two holes, one of which has a platform below it. You must fall and return to the hole that leads into the main room. If you turn your back to the hole, you will find a platform below it. When the person with the platform comes up, drop onto the moving platform after that. The third terminal can be found on either side of its highest part. Run up to it until you reach the peak. Use the paraglider to soar to the platform off the wall just before you fall. Go there and turn it on.
Fourth Terminal
As you proceed forward in the main room, take a look at the back wall of the Vah Naboris. On the uppermost ledge of this room, you will find four objects on rails. You can arrange these objects so that the electricity flows through all four.
The back of Naboris will rise, creating a staircase to the top. The distance from the entrance to the dungeon is too great for you to run to the very back. Instead, you need to break a circuit and then quickly fix it. When Naboris retracts, a ramp will be created again so you can run up it. During this time there is another glowing eye near the top of the ramp. Shoot it with an arrow to kill the malice.
Continue walking to discover a second glowing eye that must also be eliminated. You’ll see a ramp that descends to a nearby treasure box with an Ancient Screw. Destroy the glowing eye at the bottom to stop enemies from spawning. You can locate an electric sphere by returning to the platform’s upper level. Any circuits close to the spheres can be powered by them. Carry the electrified sphere to the top floor by picking it up.
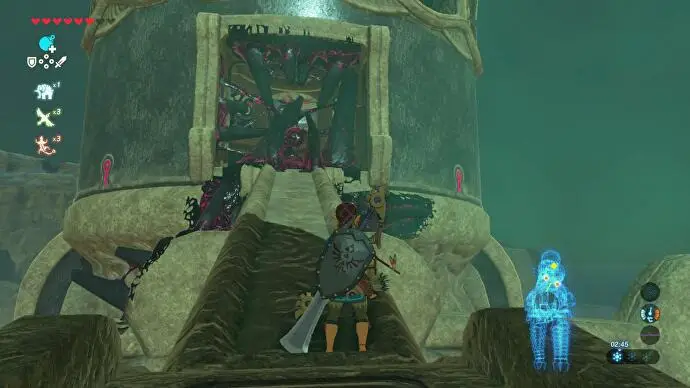
To destroy the Malice, drop the glowing eye between the bulb and the sphere. When the sphere is placed next to the bulb, the circuit will be powered, causing nearby platforms to move. You’ll see a Guardian Scout. To avoid getting in your way, destroy it. Where the Malice previously stood, is the place for the fourth terminal.
Fifth Terminal
You can still ride up the platform at the fourth terminal to find another electric sphere. Take this and walk to the platform that is moving in between two humps of Naboris. Grasp the moving platform when it isn’t in front of you and you’ll see a square hole where you can drop. Two Guardian Scouts are waiting for you, so defeat them to access the nearby gate.
Behind the gate lies the fifth terminal. Go back to either of the elevators to return to the upper portion after placing the electric sphere onto one of the circles. Pick up the other electrified sphere, then descend. Place the sphere on the other circle, then turn on the last terminal.
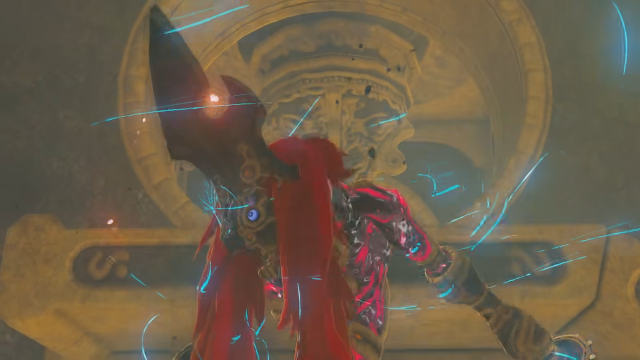
You may use this to turn on the Main Control Unit in the main room. Before turning it on, make certain you’re donning your finest armor. In this case, the Rubber Armor is really helpful. The boss battle with Thunderblight Ganon will then start.
How to beat Divine Beast Vah Naboris Thunderblight Ganon
Phase one
When you are on the bottom floor, you will have the most room to work. Thunderblight Ganon has two attacks. The first one is to throw green, electrified projectiles at you. If you move to the side, you will be able to avoid that attack.
It will attack you by teleporting three times rapidly and the third warp will be right next to you. The best way to deal with this attack is to backflip and activate a Flurry Rush at the last second or zap Thunderblight Ganon with a shield bash to stun it.
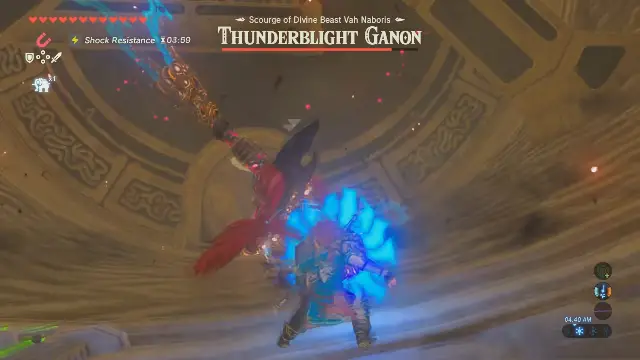
Phase two
As soon as Thunderblight Ganon loses half of its health, the second phase of the battle begins. In this phase, Thunderblight Ganon begins to make an electric spike pattern on the ground without leaving enough space between the spikes to avoid them. Run away from the spikes before Thunderblight Ganon sticks them into the ground.
Use the Magnesis Rune when you are in a safe area to catch a spike before it vanishes and push it up into Thunderblight Ganon to deal some damage, knocking it to the ground so you may attack it again. This phase can be made simpler by standing on the higher section of the room. The third stage of the fight begins after Thunderblight Ganon has been stunned by one of the spikes.
Phase three
If you have a metal shield, don’t use it here. Stay in the bottom section of the room, just like when you started the fight. This phase is similar to the first, except that Thunderblight Ganon is electricity-powered and much more aggressive this time.
In this phase, you need to run and dodge a lot to avoid taking damage. The rapidly warping attack will now slash three times instead of just once. If you shield bash or use Flurry Rushes, you will need to adjust your timing accordingly.
Thunderblight Ganon will begin to charge a laser attack when its health is low. You can either evade the laser and go attack Thunderblight Ganon while it charges up another one, or you can shield smash the laser back at it for damage. Since this is the toughest dungeon boss, you’ll probably need to make several attempts to succeed.
For more related content check out our dedicated website Gamition.
More E-Sports news:
- Mario Strikers Battle League Tier List – Best Characters in the Game
- Cookie Run Kingdom Guild – How to Create, Join, Leave, and more
- How to beat the Cleric Beast in Bloodborne – Guide
Follow our dedicated E-Sports page for instant E-Sports news and updates
