

Finding it difficult to play in the Atomic Heart Testing Ground? Do not worry, with our guide everything will become easy for you.
In Atomic Heart, if you want to get the best weapon upgrade then you will have to complete a few optional dungeons. These dungeons are called Testing Grounds. It is also known as Polygons. Basically, it depends on the menu you are exploring. The more you explore in places like these the more upgrades you will get. You will also get gold, silver, and bronze chests as rewards.
Keep in mind that these dungeons are not very easy. It might confuse you at the start. Unlocking the entrance itself is a difficult task for players. Do not worry because our guide will give you all the details and a few tips and tricks about the Atomic Heart Testing Ground. With this guide, it will become easy for you to explore.
Atomic Heart Testing Ground
If you’re looking to unlock a powerful shotgun upgrade in the main open-world zone of the game, you’ll need to make your way to Atomic Heart Testing Ground 1. This tricky area is located west of the monorail station and to the northwest of the arena, but it’s not just a simple matter of walking in.
First, you’ll need to hijack a camera and use it to unlock the door to the blue mushroom bunker. To find the camera terminal, head to the roof of the two-story building northwest of the Monorail Station. Once there, you’ll need to access the camera and use it to view the bunker. Push the button prompt to unlock the door and you’ll be on your way.
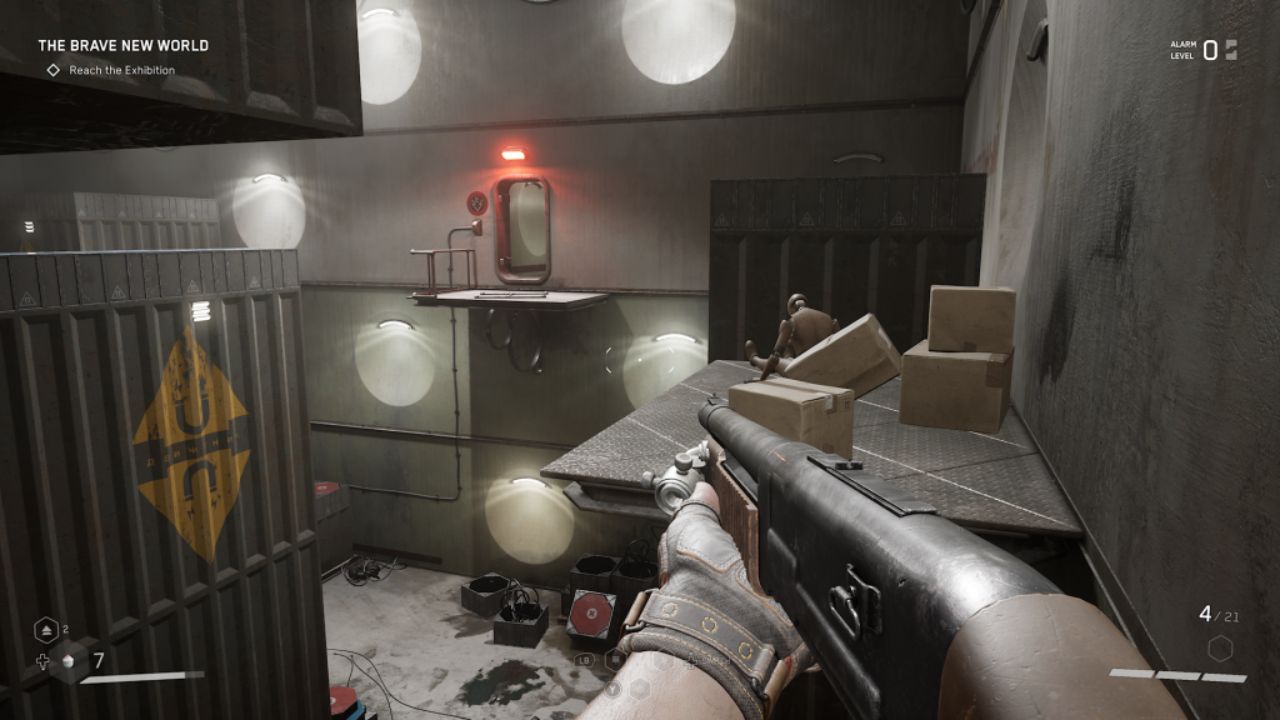
It’s worth noting that there’s another camera control terminal closer to the Testing Ground entrance, located on a small platform to the east of the bunker. Once inside, take the elevator down to the first test chamber.
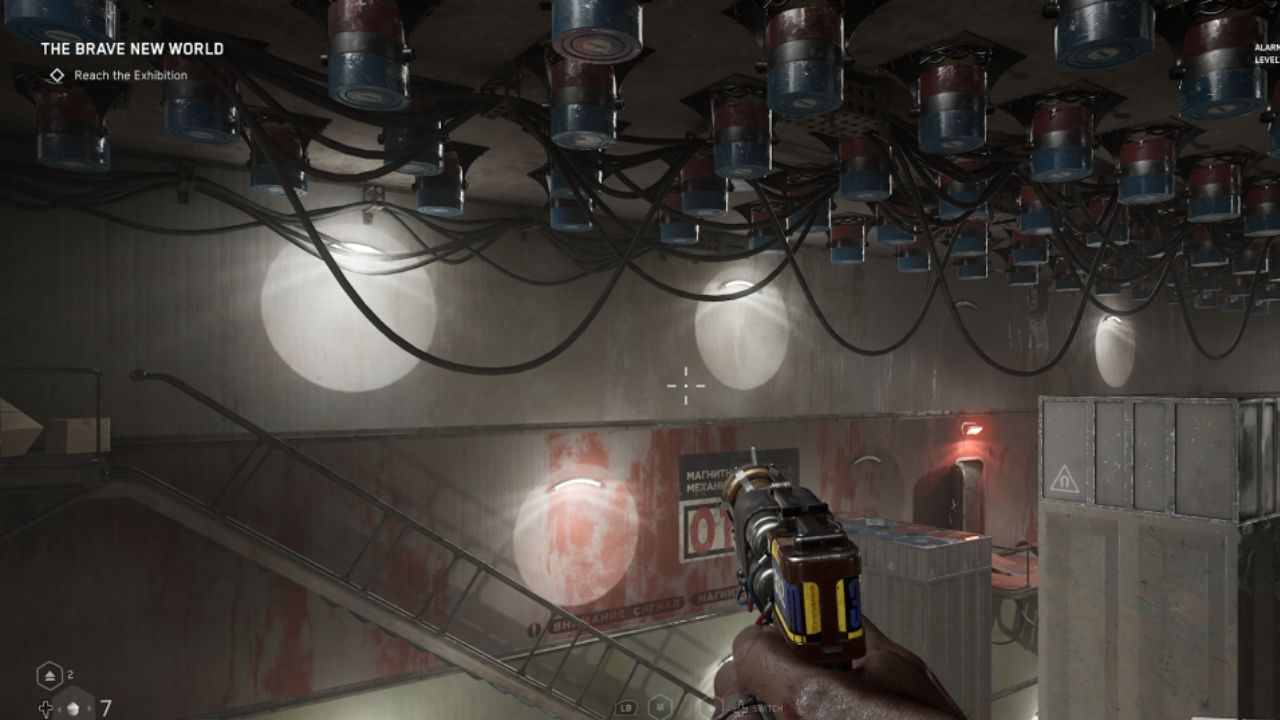
Here’s where things get interesting. In this chamber, you’ll need to complete a series of puzzles to change the magnetic pull of the ceiling by zapping the batteries on the ceiling. To get started, zap the batteries through the broken ceiling panel, then zap the ceiling again to raise the metal wall. Keep solving the puzzles and you’ll eventually unlock that coveted shotgun upgrade.
Room 1
As you step into the first test chamber, get ready to harness the power of magnetism to manipulate the position of the platforms. Your tool of choice for this task is Shok, so make sure you have it equipped. Your goal is to change the polarity of the ceiling units from Positive to Negative.
The exit is located on a raised catwalk at the far end of the room. To get there, drop down and stand on one of the long, 1×1 “walls” that emerge from the center of the room when you switch the polarity. These walls will take you up to a height where you can jump onto the platform on the left side of the room.
Once you’ve made it to the left platform, hop onto the next red platform in the back-right corner, where you’ll find a blueprint chest. To ride this red platform up, switch the polarity and then cross the catwalk to the small platform with blue and red magnetic surfaces. Change the polarity again to ride this platform up and reach the exit.
As you progress through the hallways, make sure to use the vents until you reach a chamber with multiple generators. There’s a Safe Room here, and a reward waiting for you down the hallway, but don’t rush into the generator room just yet!
Get your rewards
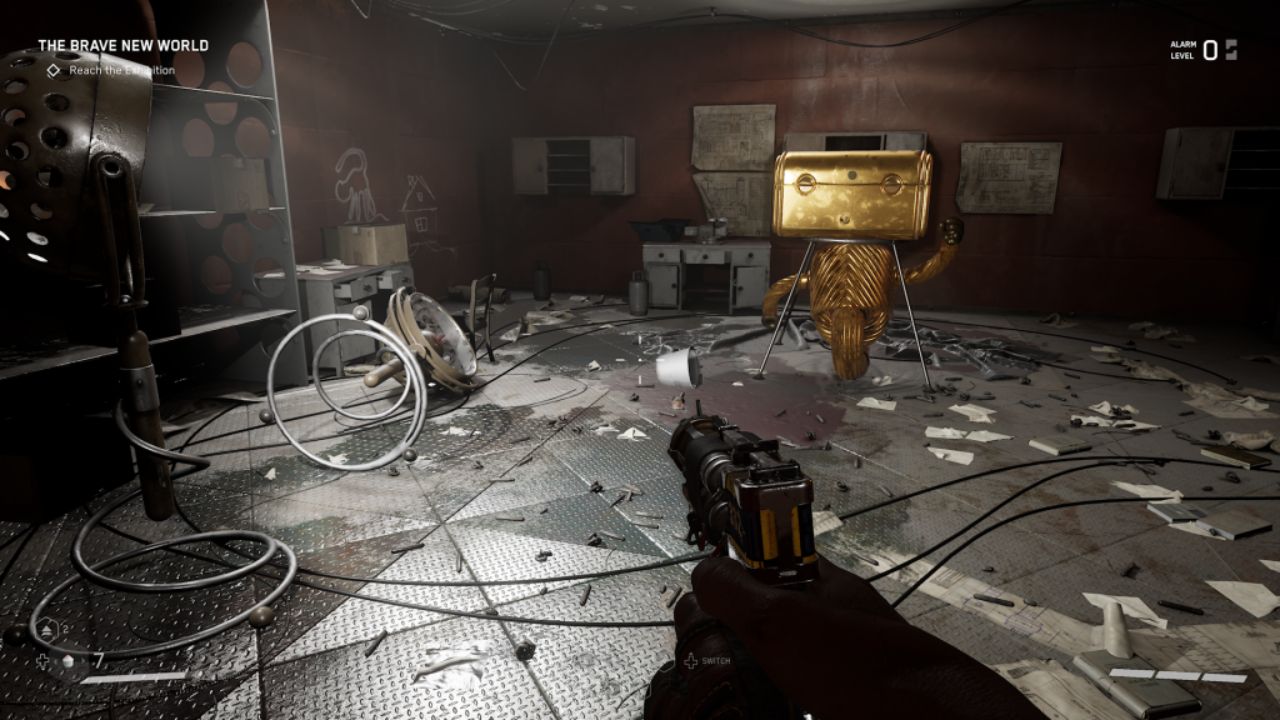
First, claim your Bronze Reward: Fox – Handle Blueprint. Then, get ready to fight your way through the enemies in the generator room, as the door will lock behind you. Once you’ve made it through, continue up the stairs and through the broken wall to find a third Safe Room and loads more materials to collect in the office.
For your Silver Reward, you’ll need to keep going past the office and zap the magnets on the side of the wall. This will “open” the door, leading to a reward chest down the hallway. Then, head back to the large magnetic wall and zap the magnets again to move them aside, revealing a second puzzle room.
Room 2
To start, you will have to drop and hop onto the lower platform to our right. Switch the polarity to bring down the two red platforms on the left. Now, using a jump-dash move, you can jump across to reach the second section of the chamber. Once you’re there, you’ll drop to the blue platform on the left and switch the polarity to rise up. Voila! Now you have a blue platform straight ahead of us. Let’s jump to it.
From here, you will make your way to the back-right corner of the chamber. You can switch polarity to lower the red platforms and find a laser puzzle hidden on the metal wall. Let’s solve it by moving the blue laser to the center and the split junction to the bottom.
Now, with that puzzle out of the way, you can switch polarity again to reveal a series of platforms that you can cross to reach the right side of the chamber. The back-right of the chamber has two standard metal platforms that don’t switch, so you’ll use those to make your way to the back-right corner.
Get your rewards
Once you’re there, you can claim your gold rewards at the end of the path, which is in the room to the left of the exit elevator. Don’t forget to check out the optional hallway before the elevator lobby, where you can find even more large chests to claim.
Atomic Heart Testing Ground 1 Rewards
When you complete the Atomic Heart Testing Ground 1, there are some fantastic weapon upgrade rewards up for grabs.
For starters, there’s the Fox – Ergonomic Handle, which you can snag as the Bronze Reward in Testing Ground 1. To find it, solve the first magnetic puzzle room, and then head towards a generator combat area. But before you go inside, take a detour down the hallway from the second Safe Room. Here, you’ll find an open door with a treasure robot inside. Score!
If you’re looking for a Silver Reward, then the PM – Expansive Converter is your best bet. Once you reach the third Safe Room, you’ll come across a massive magnetic wall. Move it aside to reveal a hallway that leads to a treasure chest with a robot body.
Now, let’s talk about the big prize – the Gold Rewards! The KS-23 – Extended Magazine is found right before the exit to the Testing Ground. Don’t miss it!
And if you’re feeling extra adventurous, you can unlock the Zvezdochka – Reverse Shot, which is another Gold Reward. To do that, you’ll need to score the KS-23 Extended Magazine first.
For more related content check out our dedicated website Gamition.
More E-Sports news:
- Genshin Impact Starconch Locations – Farming Guide
- All Demiguise Statue Locations in Hogwarts Legacy
- How to Beat Severnaya in Goldeneye 007 – Walkthrough
Follow our dedicated E-Sports page for instant E-Sports news and updates